Hello Darling Entryway Wall Art Print

Looking for a clever way to greet your guests? Try making this sweet Hello Darling Entryway Wall Art Sign for your entryway. Or grab my free printable Hello Darling sign. For more wall art prints, see my Printables page.

I am setting up a new entryway in my home and wanted a fun greeting for my guests when they walk in the door.
I searched everywhere for just the right saying or sign and came across the words “Hello Darling,” which is something I say with a strong British accent, of course, all the time to my family. So I knew this was perfect for my entryway.
Disclaimer: Please note that some of the links below are affiliate links and at no cost to you I will earn a commission if you purchase through those links. See my Disclosure + Privacy Policy for more info. As an Amazon Associate, I earn from qualifying purchases.
⚡️NOTICE: Submitting forms for FREEBIES on this site too quickly can trigger our email spam filters. If you stop receiving your Freebie Delivery Emails, please try using a different email address, an incognito window, or you can Contact us to whitelist your email so you can receive them.
The FREE Hello Darling Printable is at the Bottom of the post!
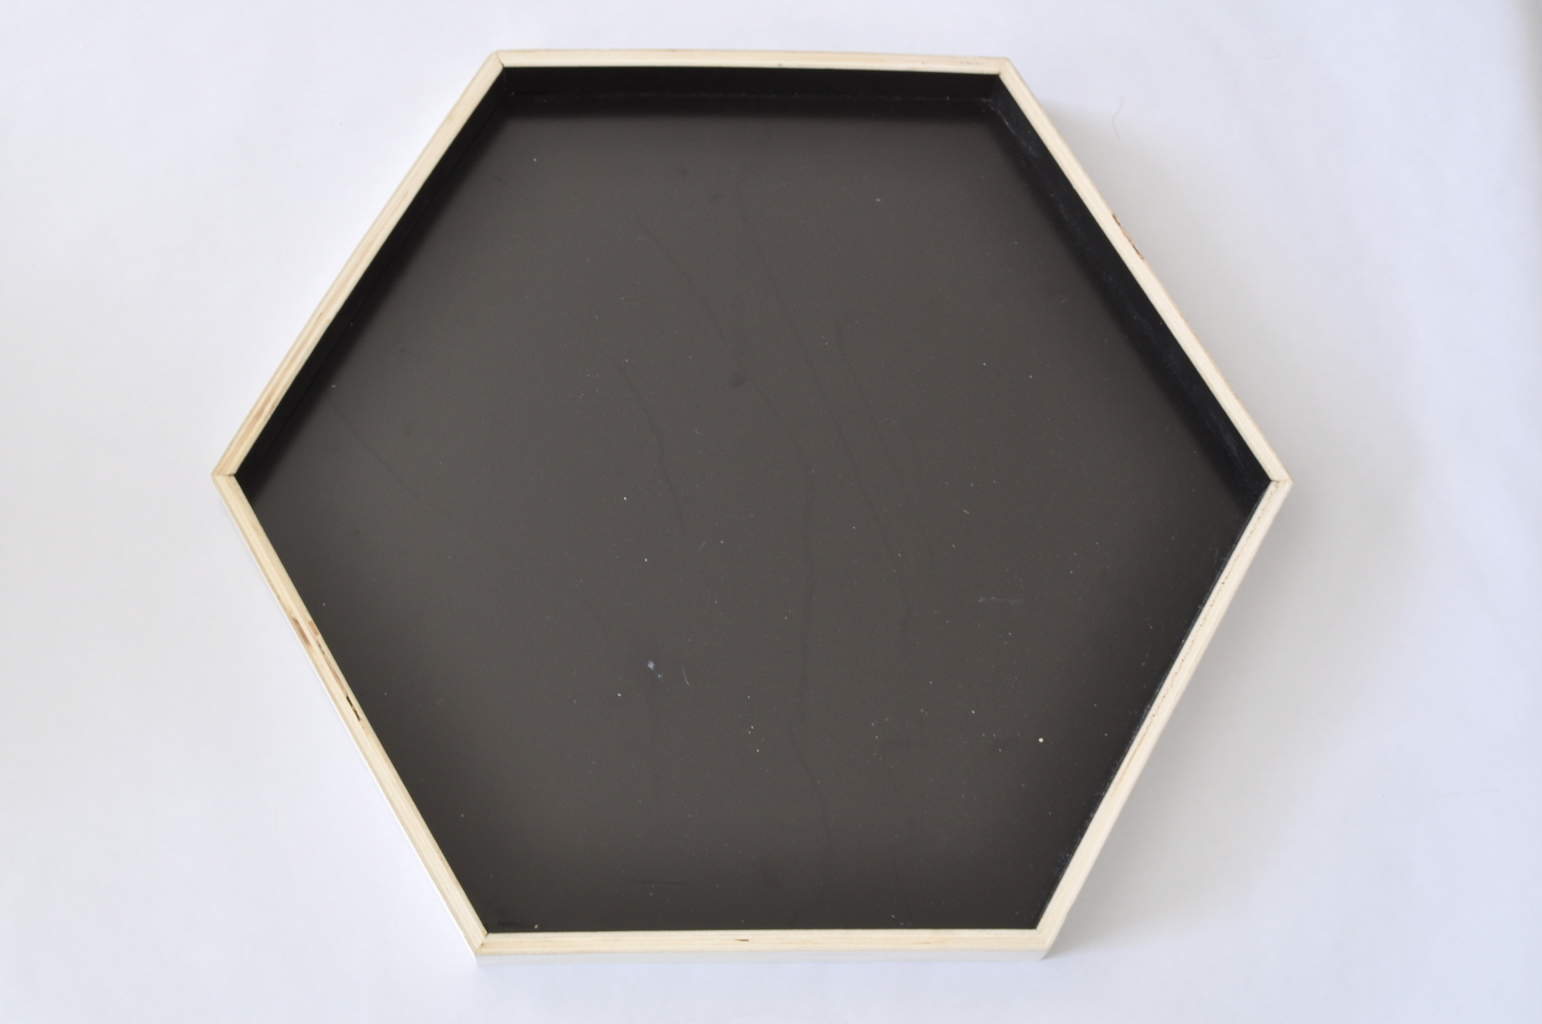
I found a geometric tray at Hobby Lobby that was quirky and perfect for the sign I wanted to create. I used my Silhouette Cameo to cut out the letters and my favorite adhesive-backed Gold Foil for the lettering.
TIP: If you do not own a die-cutting machine, you can skip the cutting part and purchase adhesive letters and place them on a tray. Super easy way to make wall art.
Hello Darling Entryway Wall Art
Supplies:
- Silhouette Cameo , or Cricut
- Silhouette Gold Adhesive Foil
- Decorative Tray
- 2-inch piece of Jute twine or picture hanging hardware set
- Hot glue & gun
I am no longer providing an SVG file for this item because I did not own the font to share it.
Instructions:

Silhouette Cameo Directions:
- Add the SVG file to your Dashboard in Silhouette.
- Size the words to the dimensions you need for your project.
- Right-click and “Ungroup” the letters, then right-click “Release the Compound Paths”.
- Separate the letters so they do not overlap each other and send them to Silhouette to cut.
TIP: A trick I use to get letter sizing right is to cut out the letters on scrapbook paper and lay them out on your project. Once you get the correct size, then cut it out on the foil.
- Place the letters on the tray and arrange them in the way they are meant to look.
- Press down tightly to adhere to the letters.
- To hang the tray, I hot glued a small piece of twine string to the back so I could use it as a tray if I chose to in the future. And that’s it! Super easy and unique wall art!
See my full entryway redo for the full vignette. I know you are going to love it! It came out amazing!

I just love how this fun sign came out! If the tutorial is not something you have time to do, grab the free printable wall art version for your decor!
Hello Darling Wall Art Design
- Click the link below to download the PDF to print. For best results, print the PDFs using white heavy cardstock.
- Use the printer setting US Letter Boarderless to get the design to fill the page.
- Frame and enjoy!
My printables are for Personal Use Only. Please see my Printable Disclosure for more information.
Hello Darling Wall Art Design
Love it? Pin it!


Such a simple craft with a big impact. I should make one that says Aloha beaches for our entrance.
Really pretty Kim! Pinned & shared. Thanks for joining in to share at the Inspiration Spotlight party. See you again soon!
I’ve never used that gold foil (in fact I have never seen it) but now you have me chomping at the bit to do so! I adore this project! Pinning! Thanks for linking up to You’re Gonna Love it!
Thank you for sharing at the Thursday Favorite Things blog hop. Watch for your feature tomorrow. xo
How fun! definitely would brighten up any room. Thanks for sharing on the #HomeMattersParty . I hope you will join us again next week.
Darling Kim, (imagine my horrible British accent lol)
Cute sign! Looking forward to seeing your revamped entry way. Thank you for sharing your project with us at Brag About It! Pinning to share :)
~Laurie