4 Stacked DIY Cowrie Shell Bracelets

Looking for a trendy jewelry idea to make at home? My stacked DIY cowrie shell bracelets are super cool and on-trend for summer. See how to make them and then check out my Fashion + Jewelry page for more creations.

Cowrie shell jewelry is popping up all over the place in summer fashion. These light colored little shells look fantastic with flowy beachy dresses. I took my love of natural beads with gold, then added gorgeous beige and gold covered Cowrie shells. These fun cowrie shell bracelets are super easy to make.
Cowrie shells have such a fascinating history. They have so many meanings, way too much for me to go into here. Here is a quick rundown on them. A certain species of these small snail mollusk shells were used for currency in Asia and Africa. Mostly the shells were worn for jewelry as charms. They symbol good luck, wealth, and womanhood.
Disclaimer: Please note that some of the links below are affiliate links and at no cost to you I will earn a commission if you purchase through those links. See my Disclosure + Privacy Policy for more info. As an Amazon Associate, I earn from qualifying purchases.
⚡️NOTICE: Submitting forms for FREEBIES on this site too quickly can trigger our email spam filters. If you stop receiving your Freebie Delivery Emails, please try using a different email address, an incognito window, or you can Contact us to whitelist your email so you can receive them.
I created four different cowrie shell bracelet versions that look so amazing stacked together. Since they are neutral colored, they would also look great on their own or layered with other colorful bracelets as well. These beauties are super easy to make. All you need is stretchy bracelet cording and a few supplies. Let’s go make some bracelets!
Cowrie Shell Bracelets
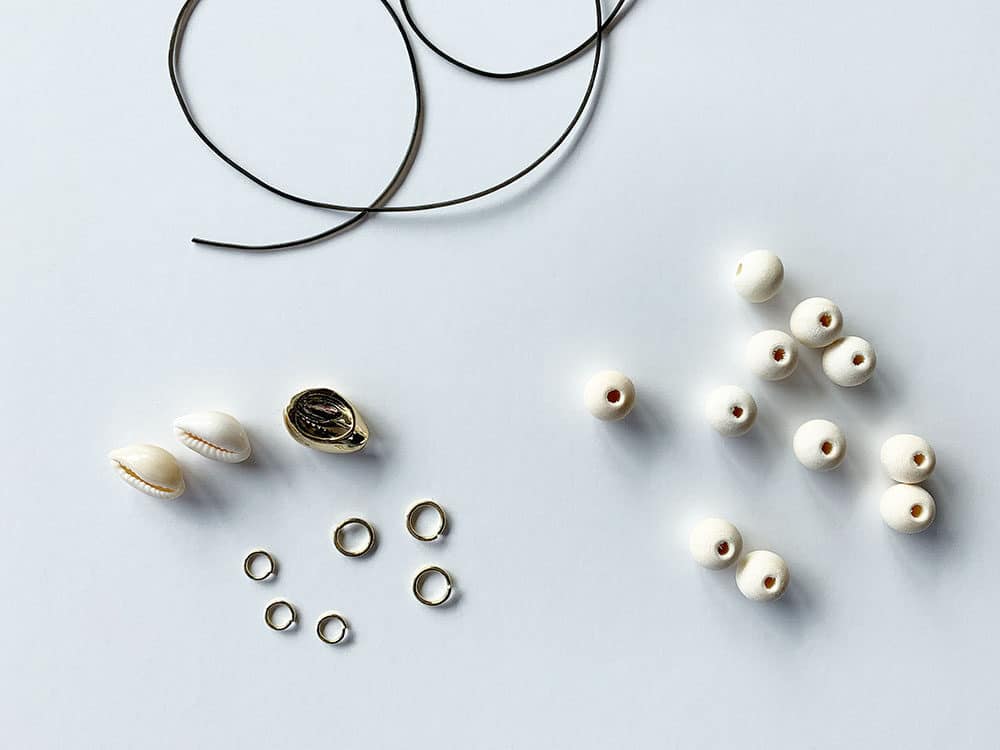
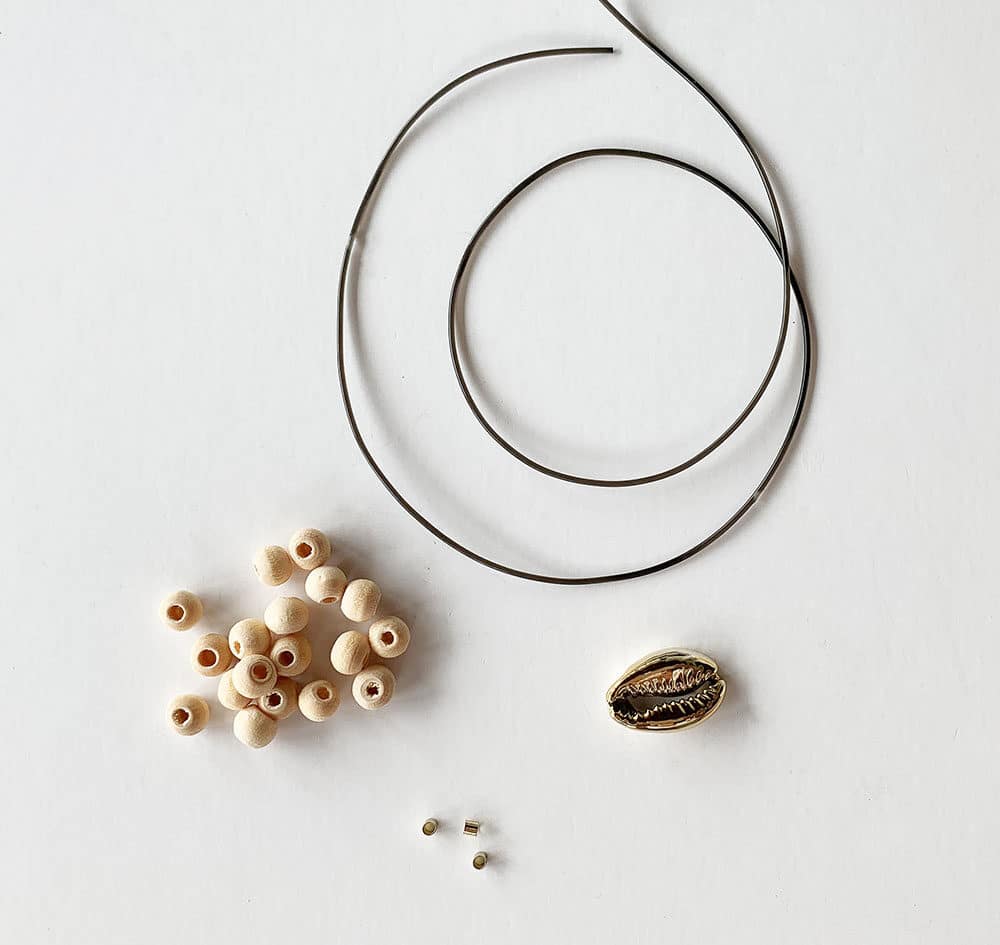
Supplies:
- Cowrie Shells: Multiple Sizes
- Gold Cowrie Beads
- Natural Wood Beads: 6mm
- Natural Wood Beads: 9mm
- Gold Beads: 6mm
- Jump Rings: 8mm
- Jump Rings: 6mm
- Gold Crimping Beads: 2mm
- Stretch Cording 1mm
- Jewelry Glue (optional)
- Beading Plier
- Scissors
Instructions:
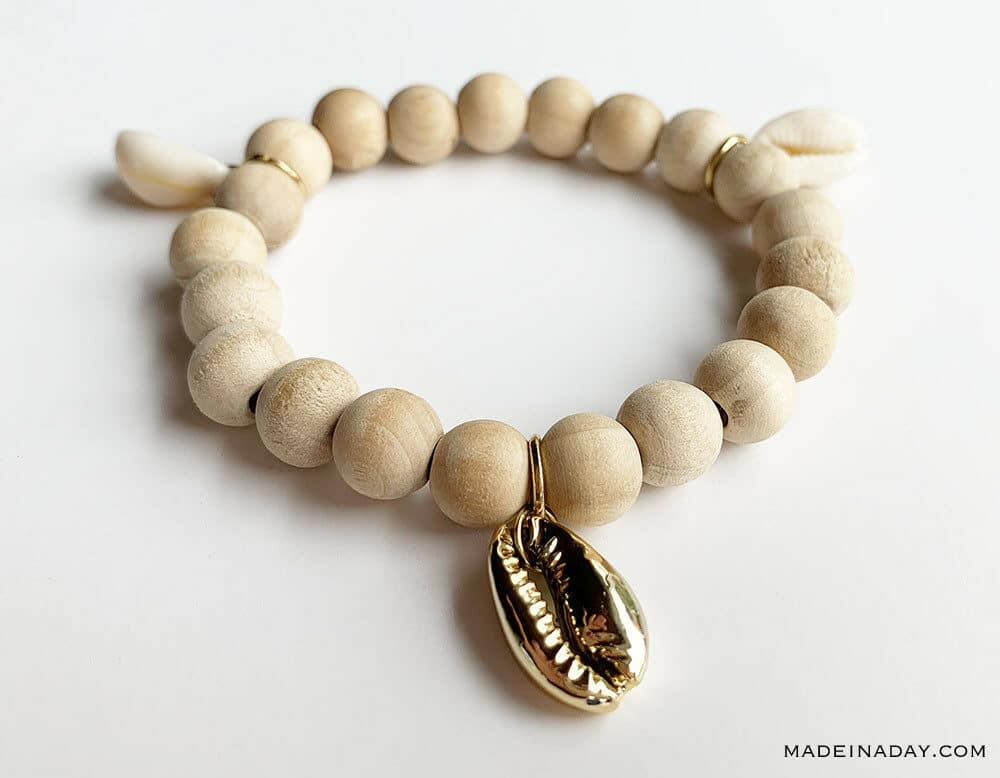
LARGE BEAD BRACELET WITH COWRIE CHARMS

Start by adding 9mm beads to the stretchy cording while it is on the roll.
NOTE: I found you have more control over the beads on the cord if you start adding beads with one end of the cord still attached to the spool. This also saves cord so you can make more bracelets.
I used 21 beads which makes an 8 inch bracelet. You may need to add more or fewer beads according to your wrist size.
To finish the bracelet and tie it off. Trim stretchy cord, leaving 3-4 inches or so at each end.
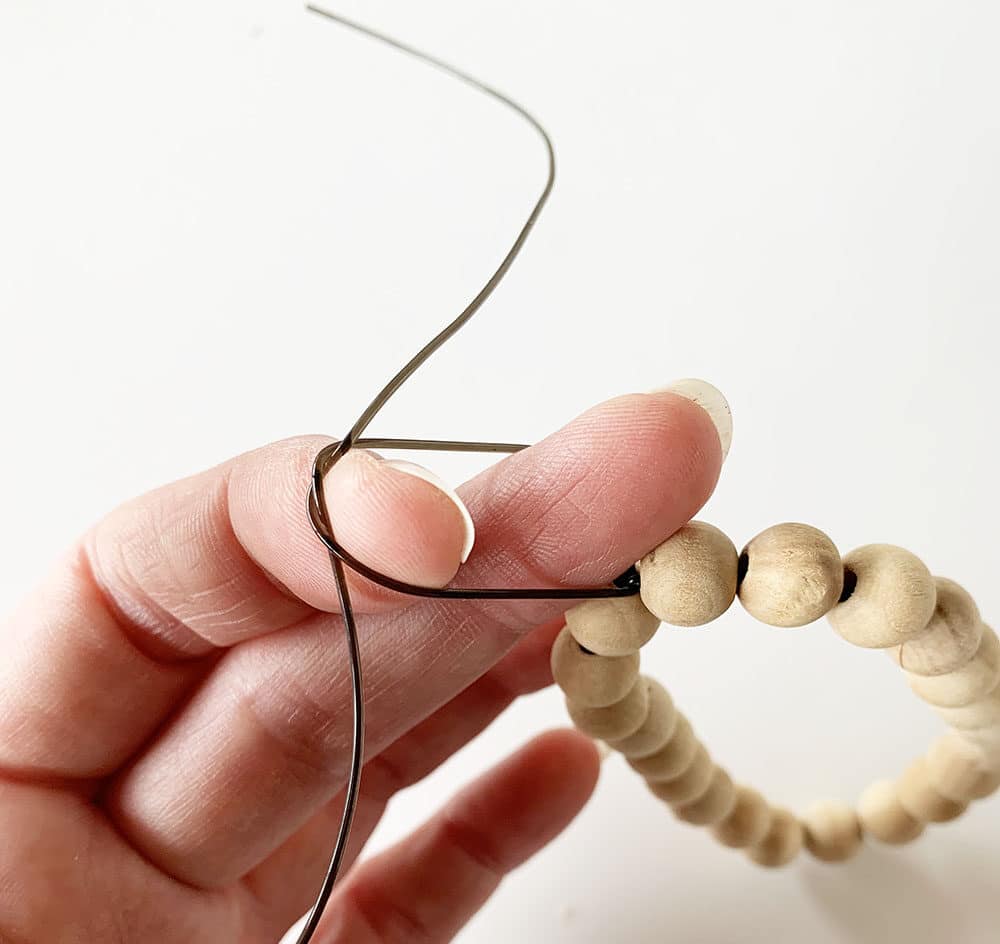
Pull the beads tight so they are snug together on the cord. Wrap one end of the cording over the other and pull tight. Repeat 4 more times.

Loop both ends together over one of your fingers.
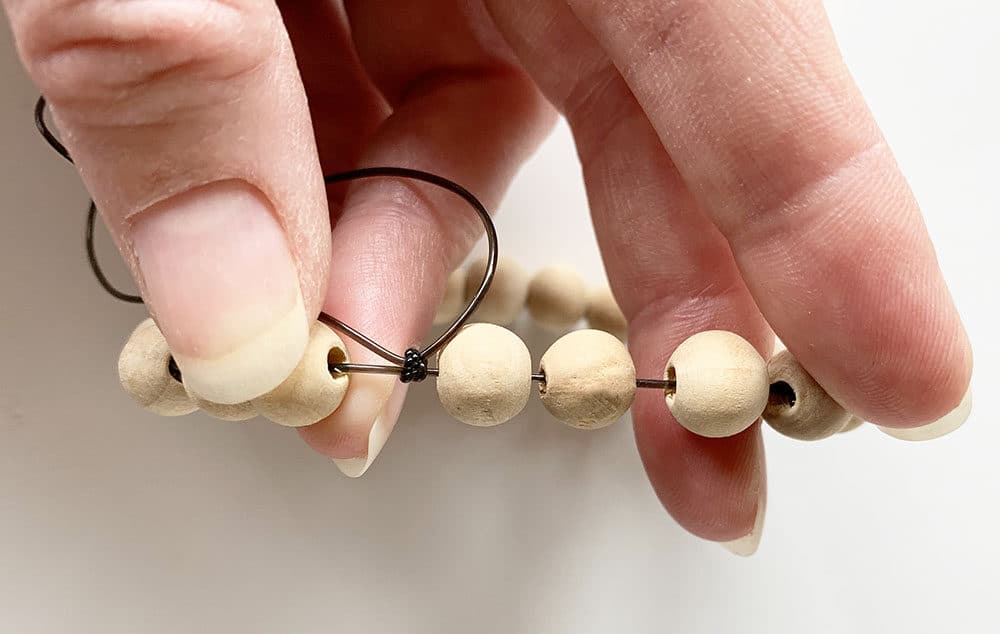
Tie them into a knot and pull it down tight and close to the other knot so they seem like one big knot. Trim the ends off, leaving 1/8 of an inch of cording. You can add a dot of jewelry glue to the knot for extra strength. I just pulled the knot inside a bead and it was very snug and tight.


Add 6mm jump rings to the Cowrie shells. Attach them with an 8mm jump ring evenly around the bracelet.
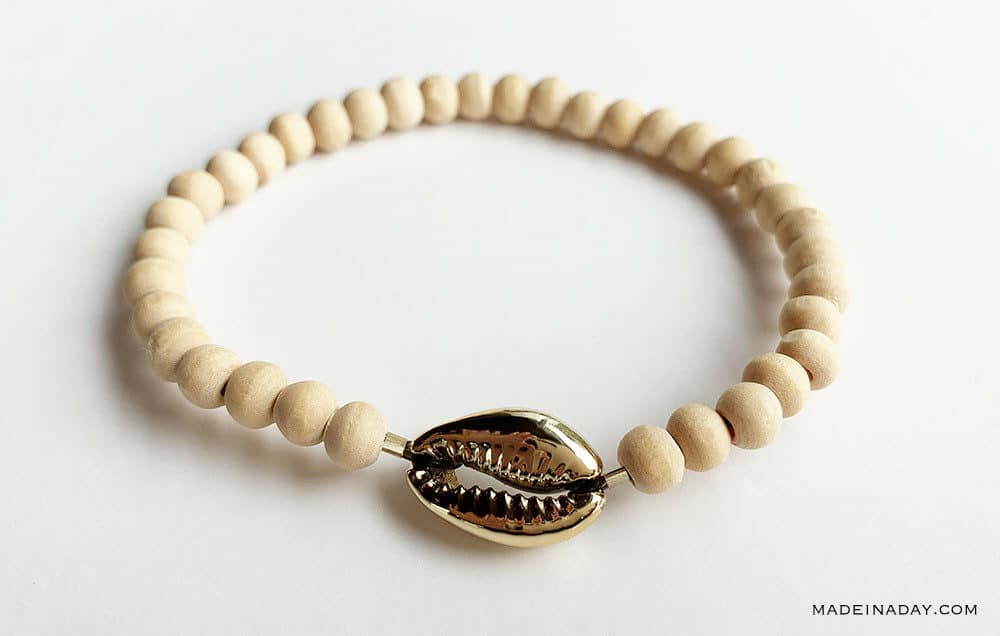
GOLD COWRIE SHELL BRACELET
Start by adding beads to the cording the same way as above directions.
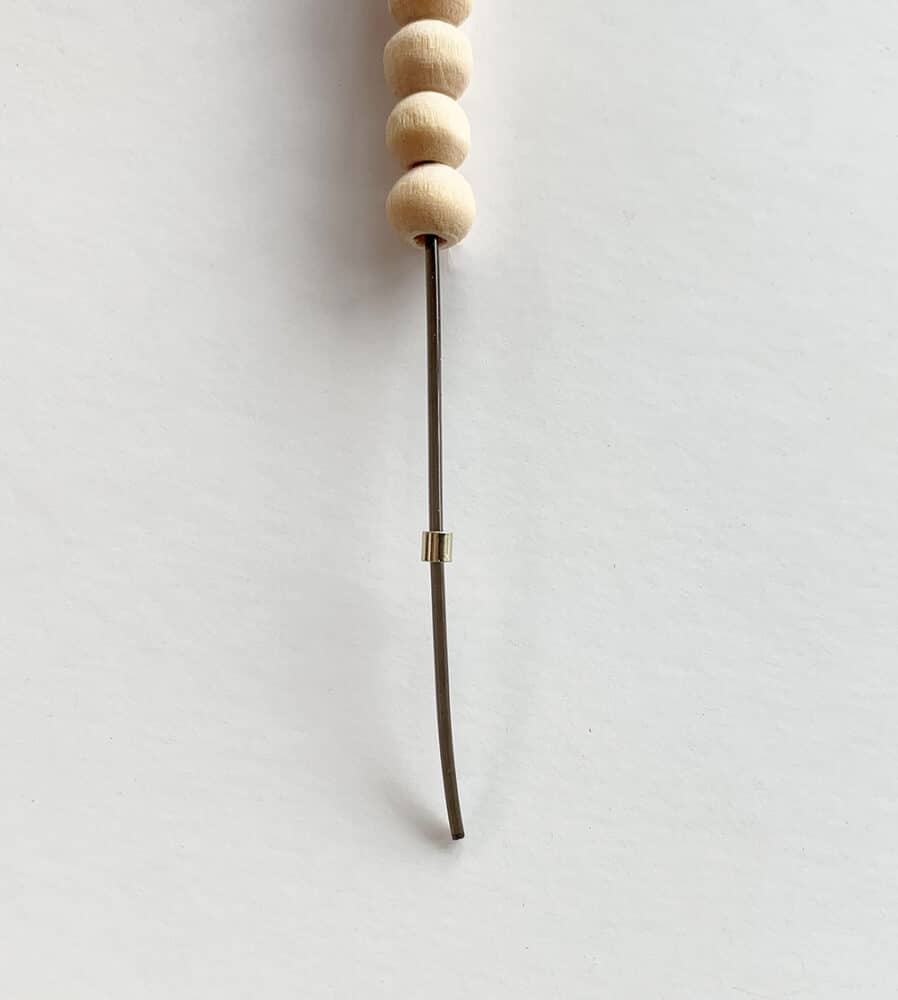
Add a crimping bead to the end of the cord. Feed a gold cowrie bead through the cord. Loop the cord end back through the crimp bead. Clamp down hard on the crimp bead to smash it flat with a pair of smooth jewelry pliers.
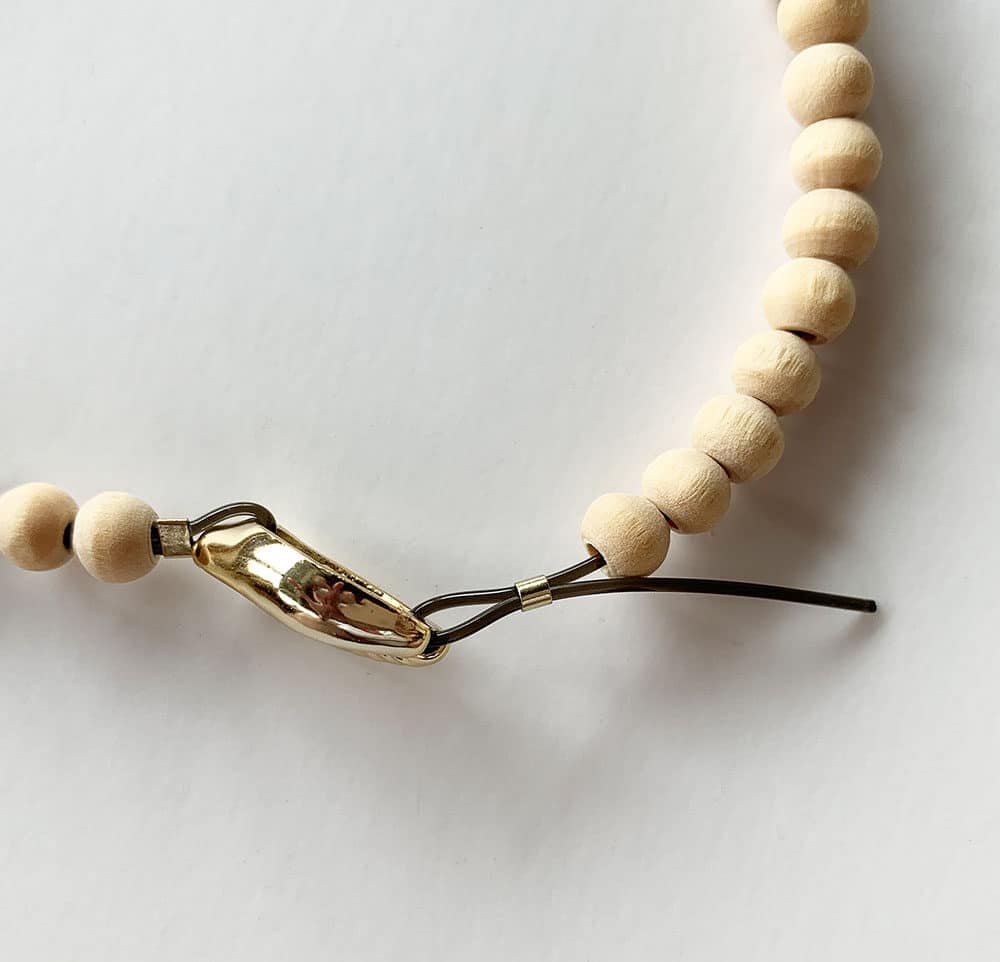
Trim the other end of the cord down to 3-4 inches. Push the beads down to tighten them and add a crimp bead to the end of the cord. Loop the cord through the other end of the gold Cowrie bead. Feed the cord back through the crimp bead. Make sure the beads are snug and smash it hard with pliers like the first side. Trim the cord end and push it inside a bead to conceal it.

Notes: Making elastic bracelets can be very tricky at first. Once you get the hang of this it will become super easy. I had a hard time at first hanging onto the beads while trying to tie the cord. It just takes practice. Good luck! Enjoy!

I hope you enjoyed my tutorial! These bracelets are not the only jewelry I made with Cowrie shells. I made some fun dangle earrings out of them too!
Love it? Pin it!
