How to Make a Black Oyster Shell Mirror
Make some trendy beach home decor this summer. This is a great way to use up those shells from your last vacation. Make this DIY Black Oyster Shell Mirror, a one of a kind sentimental piece, to look back on for years to come. For more home decor ideas see my Home Decor page.

Disclaimer: Please note that some of the links below are affiliate links and at no cost to you I will earn a commission if you purchase through those links. See my Disclosure + Privacy Policy for more info. As an Amazon Associate, I earn from qualifying purchases.
Sea Shells always bring that summer island feel to your home decor. Growing up on the East Coast we always had an abundance of shells. Today I am going to show you an easy way to make them into a cute beachy accent piece.
Grab some of those shells from your last beach adventure and learn to make this easy shell mirror to hang or even better you can use it as a volitive holder.
This post first made its debut on the FloraCraft® Make It: Fun Blog where I share more fun foam ideas!
DIY Black Oyster Shell Mirror
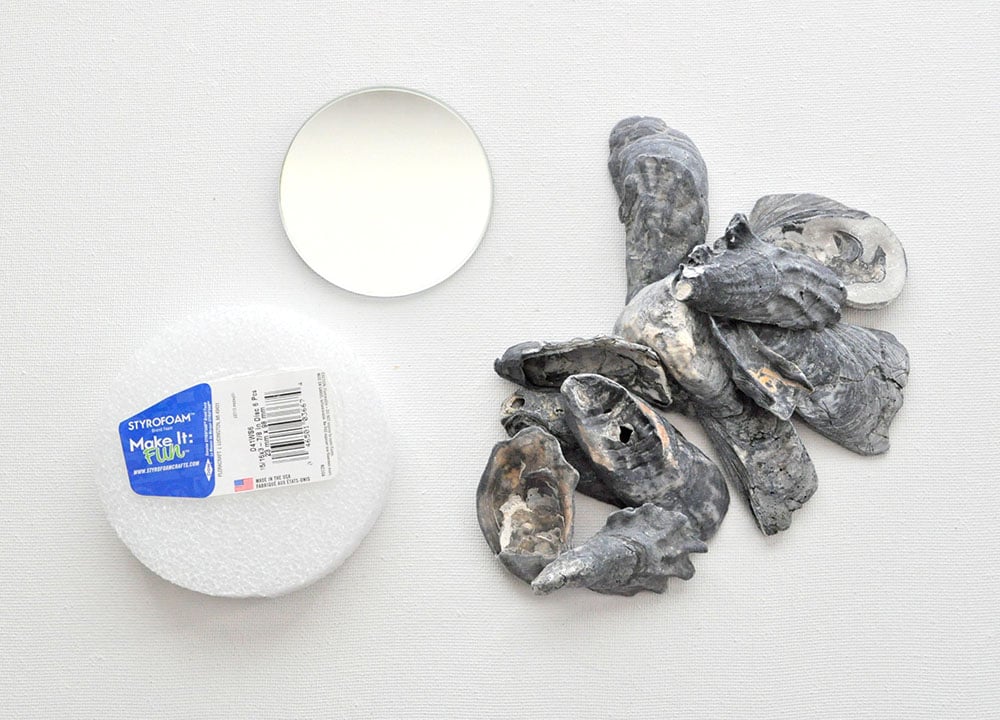
Supplies:
- Floracraft® Make It: Fun® Foam Disc: (1) Size: 4 x 1 Inch
- Low-temp Glue Gun and Glue
- Oyster Shells: 27-30 Size Long and Short
- Small Mirror: Size 3 Inch
- E6000 Adhesive
- Picture Wall Hanger

Instructions:
Trim the foam disc to match the exact size of your mirror.

Slice the foam disc in half so it is 1/2 inch thick.

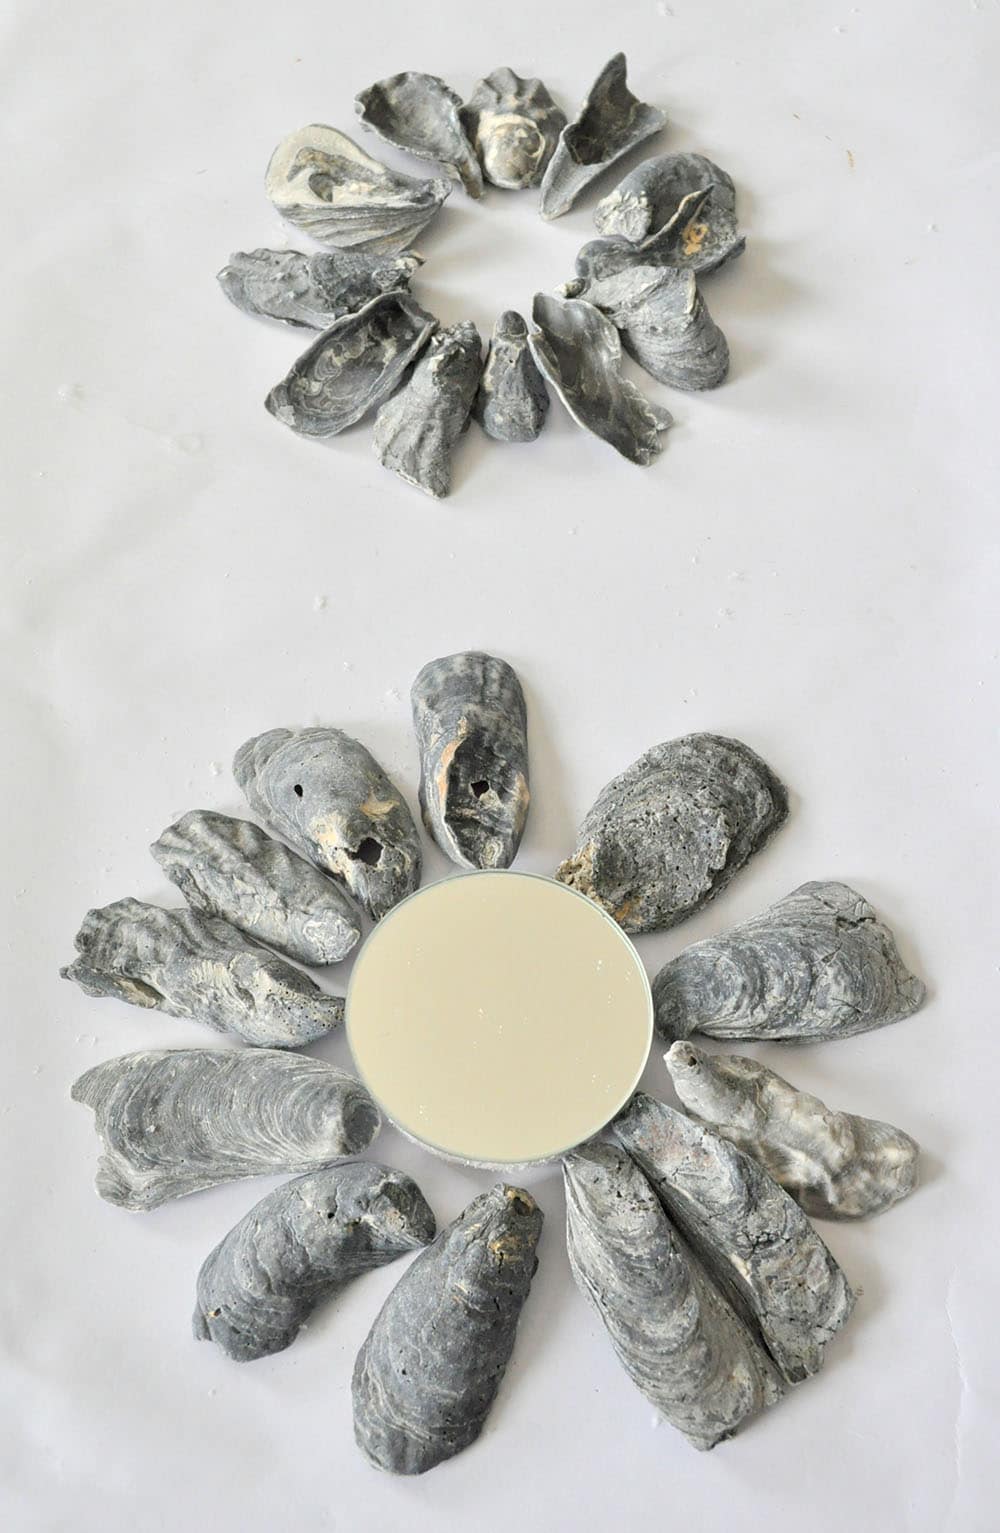
Lay out the oyster shells going around the foam. Lay the second layer of shells on top of the first layer of shells. Once you get each shell where you want it, remove the top layer of shells and lay it out exactly like you had it on top of the first layer.

Generously add low-temp glue to the ends of the oyster shells and gently push them into the foam disc.

Leave a small space between each shell. After you have all of the shells glued for the first layer, turn it over and add extra glue to each shell to secure them to the disc.

Turn the shells and disc back over the front side and glue the mirror down to the center of the shells.

Lay the second layer over the top layer, extending 1/4 inch over the mirror. Glue each piece one at a time. Let them dry.
Turn the mirror over and add a picture wall hanger with the E6000 adhesive. The E6000 adhesive will have a stronger bond than the hot glue to hold the mirror on the wall without falling and breaking. Let the E6000 adhesive dry for 24 hours. Clean the mirror and display!

You can also use this mirror as an oyster shell mirror votive holder! I just love how this came out and now I can enjoy our beach vacation for years to come!
Love it? Pin it!


Check out more of my home decor projects~


Canvas Palm Wall Art & DIY Frame


