DIY Navajo Patterned Wall Art
Disclaimer: Please note that some of the links below are affiliate links and at no cost to you I will earn a commission if you purchase through those links. See my Disclosure + Privacy Policy for more info. As an Amazon Associate, I earn from qualifying purchases.
I’m back again this month with the first FloraCraft® Make It Fun® Foam project of the year! This month FloraCraft® Make it Fun® Team challenged us to create wall art using foam sheets that you can’t make with a canvas. What a fun idea! I have had my eye on some beautiful Navajo Patterned Wood Art pieces, so what a great way to recreate one using foam instead of wood!
DIY Navajo Patterned Wall Art
Supplies:
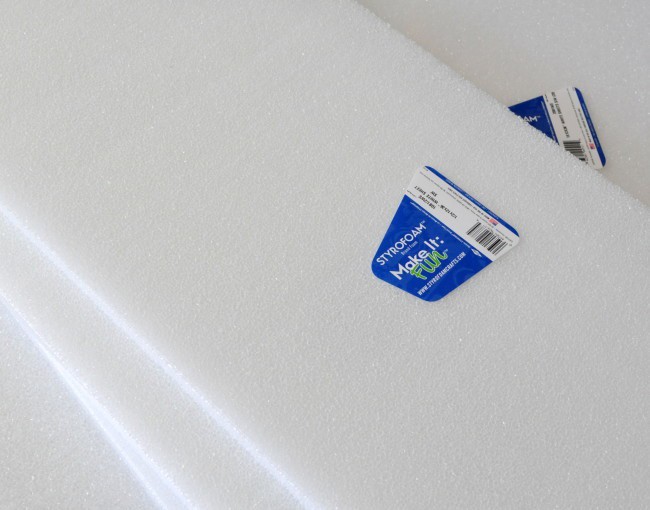
- 2 FloraCraft® Make It: Fun® Foam sheets 1/2 in thick x 12 in x 36 in
- 2 FloraCraft® Make It: Fun® Foam Sheets 1 in thick x 12 in x 36 in
- 2-3 containers of FloraCraft® Smooth Finish
- a Floracraft® StryoCutter®
- Acrylic paint: Black, White, Brown, Tan and gold
- Hot glue & gun
- Ruler and black pen
- Small pieces of twine
- Toothpicks
Instructions:
 For this project I used the two 1 inch thick foam sheets as my picture background and base.
 Cover them both on the top side with the FloraCraft® SmoothFinish® paintable coating. This will fill the holes in the foam for a smoother finish when painted. Let the SmoothFinish® dry overnight. Paint these two pieces of foam white.
 Now for the design for top layer of the foam. Choose a Navajo pattern, you can find tons of them by searching them online.
 Measure out the pattern evenly by inches and mark it out on your 1/2 inch thick foam sheets with a pen and ruler.
 Cut your top layer foam pieces apart. Put the pieces back together on top of the bottom pieces and into the design. Edit the pattern or foams to fit perfectly.
 To get a layered raised pattern look I removed some of the lines of foam for a three dimensional look.
Mark the color you are going to paint each piece on the foam sections and set aside. Paint the top and sides of each section the desired color you chose. I painted mine black, brown and tan. I painted gold over the top of tan pieces to add shine. Let all the pieces dry overnight.
 Now let’s put everything together~Place the two bottom 1 inch thick pieces side by side. In four places insert toothpicks into the foam for stability and press the edges together. Add hot glue on a low setting to the seam.
 Turn the base over and glue a few leftover foam strips to the back for stability.
 Flip it back over and lay the rest of the foam pieces together on top of the base like a puzzle. Glue all of the design pieces to the top of bottom foam layer.
TIP: Using hot glue on foam will melt the foam on high settings. You could also use an adhesive that is made especially for foam.
 Glue the twine to the back of your base and hang up your wall art! And that’s it! I love it!
 This pic looks really great over my fireplace in front of my Deer Pallet. I get tired of looking at that deer all year and I love that this fits perfectly over him until Fall!
#MakeItFunCrafts
This is a sponsored post written by me for FloraCraft®. The text and opinions are all mine.
Check out more of my Foam Projects~


love your style! Love this project too! I would totally hang that up in my house!
Thats so CUTE! I never would have guessed it was foam from the picture. Good job!
Looks beautiful! Great job!
That is so neat!!
Thanks for sharing at #HomeMattersParty!
Great idea. I’ve always wanted to try using that smooth finish on foam. Looks like a lot of fun and I like that it isn’t so heavy.