Small Biz DIY Thank You Notes Made with Cricut


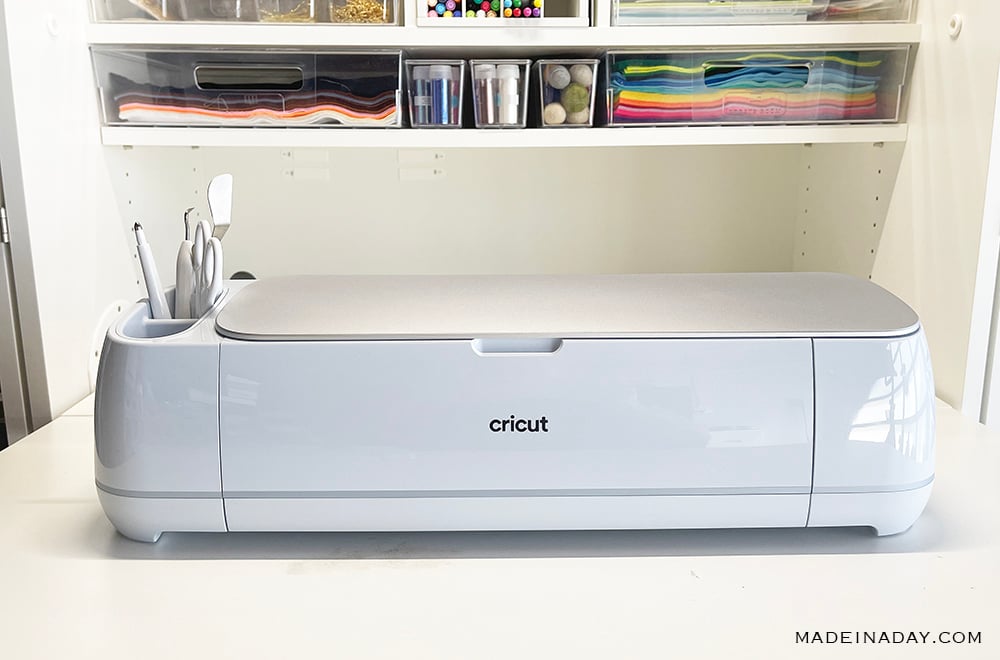
Create custom-designed small business DIY Thank You notes using a Cricut Maker® 3. See my step-by-step tutorial to make gorgeous notes to send with products after a purchase.


This is a follow-up to my previous posts where I wrote about how I’ve mastered selling online on different platforms in A Shopaholic’s Guide to Sell Stuff Fast Online and how I brand my products when shipping with stickers in Online Shop Thank You Stickers Made with Cricut. Now I am going to show you how to make a DIY Thank You note to place in the shipping box to add an even more personalized touch to your online orders.
I believe being successful at selling online is by looking professional. Presentation of your products on delivery is very important. You can show off your business branding and social media channels which will eventually lead to more traffic coming to your online store.
Disclaimer: Please note that some of the links below are affiliate links and at no cost to you I will earn a commission if you purchase through those links. See my Disclosure + Privacy Policy for more info. As an Amazon Associate, I earn from qualifying purchases.
⚡️NOTICE: Submitting forms for FREEBIES on this site too quickly can trigger our email spam filters. If you stop receiving your Freebie Delivery Emails, please try using a different email address, an incognito window, or you can Contact us to whitelist your email so you can receive them.
Like I said in my previous Thank You Sticker tutorial, it feels like the person or company actually cares about their customers when they open the package to find a personalized note. It also makes the product or company seem more reliable and valuable to the consumer.
In this post, I am working with my friends at Cricut to show you how to make “thank you” notes for your products. I am going to show you how to design them in the Cricut Design Space app and cut them out using the “print and cut” method.
The “Print and cut” method means that you will create the thank you notes in the Cricut Design Space application. Next, you will print the images on your printer and then cut them out with a Cricut Machine. Cricut Machines with this feature are: Cricut Explore Air®, Cricut Explore® 3, Cricut Maker®, and the Cricut Maker® 3.
Let me walk you through the steps.
DIY Thank You Notes Made with Cricut Maker® 3
Supplies:
- Cardstock
- Inkjet Printer
- Cricut Explore Air®, Cricut Explore 3®, Cricut Maker®, or the Cricut Maker® 3 (the Cricut Joy™ does not work with the Print and Cut method)
- Cricut Design Space
- Fine Point Blade
- Blue LightGrip Cutting Mat ( if you are not using Cricut Smart Paper™ Cardstock)
Do you have a laser printer instead of an inkjet printer? That is ok, just make sure you use the heavier paper setting for cardstock paper on your laser printer. I used the setting “double postcard”.

Sun Mandala Thank You Note
- Cricut Design Space: Sun Mandala Shape
- Medium Cardstock Paper 8.5 x 11
- Blue LightGrip Cutting Mat

Simple Modern Thank You Note
- Cricut Design Space: Retangle Shape
- Medium Cardstock Paper 8.5 x 11
- Blue LightGrip Cutting Mat
Where to Get the Shapes for Cricut Thank You Notes
The image shapes used to make the notes in this tutorial are located in the Cricut Design Space. You can also upload these image files: .png or .jpeg or .svg. to Cricut Design Space and use your own images. That option is great if you want to use your own business logo.
I have left my Blog URLs and social media channels off of my Thank You notes to make it simple. But feel free to add them to the notes during the design process.
Instructions:
RAINBOW THANK YOU NOTE

- Open Cricut Design Space on your computer and click the + New (Project) on the top left column.
- On the left sidebar click Shapes and choose a square.
- Click on the Lock symbol on the left bottom of the square and using the arrows in the bottom right corner resize it the size you prefer. You can also change it on the top nav bar under Size>Width and Height. My notes are: Width 4.931 inches x Height 3.736.

- Next to the Operation tab on the top bar, click on the Color Picker Box (small grey square box) and change the color to white.

- Click the Text button on the left nav bar and type “thank you” in the white text box. Click the Font dropdown on the top nav bar and choose the Annlie Extra Bold Font. Size the words to 41.78.
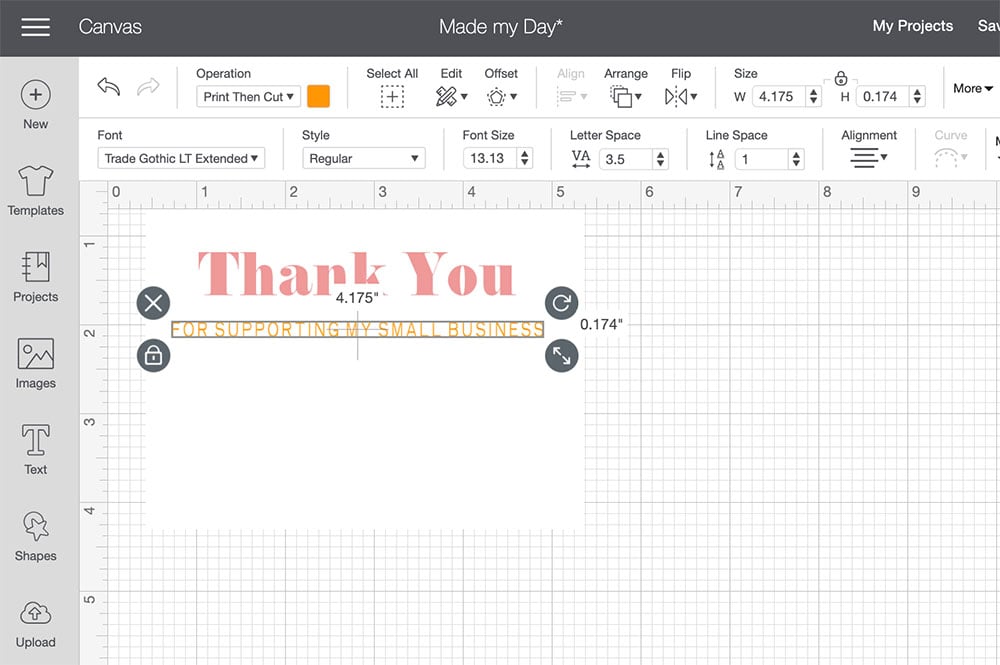
- Click the Text button on the left nav bar and type “supporting my small business” in all caps in the white text box. Click the Font dropdown on the top nav bar and choose the Trade Gothic Lt Extended Bold Font. Size the words to 13.13.

- Click the Text button on the left nav bar and type “You made my day” and then another box for the dash and your name in the white text box. Click the Font dropdown on the top nav bar and choose the Hey Marilyn Font. Size the words to 69.3.
Cricut Design Space allows you to use your own font sets from your computer. You may not have the fonts I suggested above. If you do not search the fonts available and try to find the closest one to use as mine or download them to your computer to use.
Adding the “Rainbow” Layer

- Click Images on the side bar and type in the word “rainbow baby” in the search bar to find the rainbow I used. Search for the words “mandala sun” for the sun in my Mother Hustlin Note.

- Right click on the rainbow image and click Ungroup to separate the layers. Pull the “rainbow baby” wording part away from the rainbow, right click the words and click delete.
- You will now opnly have the rainbow. You can change the color of each of the elements within the rainbow by clicking on each color element on the right layer bar. Then change the color using the Color Picker Box next to the Operations tab on the top bar.

- Once you have the colors like you want it. Click above the left top outside of the retangle and drag your cursor over the image to select all of the layers (the grey area above). Another way to do this is to hold down the shift button and click on all of the layers on the right bar. Right Click or click Group at the top of the list to join the layers and create one solid image.

- Move the rainbow onto the card. Drag the Test with the Hey Marilyn Font to the top of the list of layers on the right. This will bring the text in front of the rainbow.

- Drag your curser fromthe top left over allof the layers on the card like shown above.

- Right click and click group to group the layers.

- Click on the grouped image and under the Operation tab drop down list choose Standard under Print and Click at the bottom.

- Right click on the image that is now a group and select Flatten.
If you do not remember to FLATTEN your image, the material load print version in the next step will not show up as a group. The layers will be scattered within the cut perimeters.
Printing and Cutting Out the Notes
- Click the green Make It button on the top right corner of the design center.

- Select how many items per page on the top left drop down. You will be able to get 2 items per page with the sizes I used. If you would like to have more than two on the page. Go back in and resize your final note image to make it smaller.
- Add your cardstock paper to your printer. Click the green Send to Printer button to print the notes.

- Choose your set base material (paper). Iused medium cardstock or click Browse All Materials and type in the word “cardstock” into the search bar at the top on the next page. Click and choose the paper you are going to use.
If you are using Smart Paper™ Cardstock Sticker Sheets you do not need a mat. Just load the printed sticker paper directly into the Cricut machine after printing the stickers. If you are using any of the other sticker paper options you will need a mat. Use the “Light Blue” LightGrip Cutting Mat for stickers.
- Place the cardstock paper print on the mat and click the “blinking” Up and Down Arrow Button on your Cricut Maker® machine to load the mat.
- Once it is loaded then click the Right Arrow Button to start cutting.
- Once the Cricut Maker® machine is finished cutting, unload the mat and your notes are ready to use!

There are a lot of steps in this tutorial on how to create notes made with Cricut machines. Once you know how to make a simple set of Thank You notes the options are endless and you can print them up at a moment’s notice!


I hope you have found this tutorial helpful and you are now feeling ready to try making your own business DIY Thank You notes made with Cricut!
Love it? Pin it!

