Blue Watercolor Pumpkin Door Hanger Hack
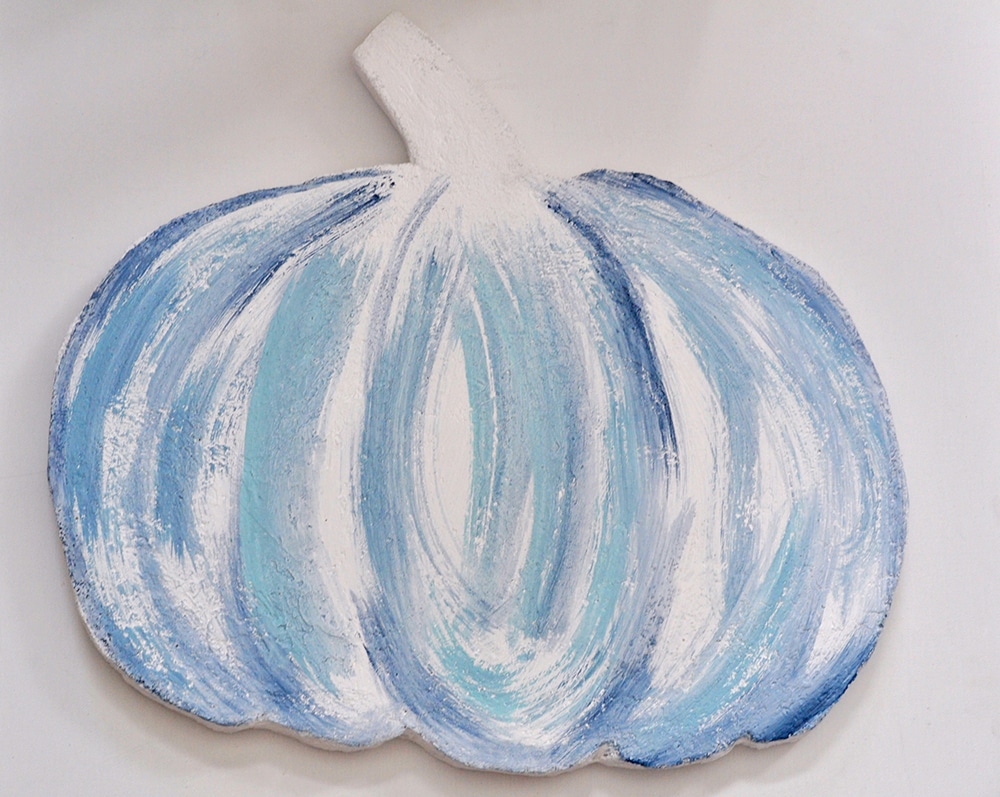
This Blue Watercolor Pumpkin Door Hanger made from foam and painted with a wash that mimics watercolor! DIY fall pumpkin door hanger tutorial. For more projects like this see my Fall page.
Disclaimer: Please note that some of the links below are affiliate links and at no cost to you I will earn a commission if you purchase through those links. See my Disclosure + Privacy Policy for more info. As an Amazon Associate, I earn from qualifying purchases.
Have you seen these fun pumpkins on your neighbors front door? These pumpkin door hangers are everywhere in my neighborhood, but they are usually made of wood!
A few weeks ago I shared this project on the FloraCraft®Make it: Fun Blog. Today it making its debut on my blog! I am going to share with you how to make one of your own.
The watercolor trend is very prominent this year in home decor. Let me show you how to get the washed-out blended look of watercolor look without the difficulty of using a watercolor set.
It’s a super easy way to paint the foam on this DIY Pumpkin door hanger.
Blue Watercolor Pumpkin Door Hanger Hack
Supplies:
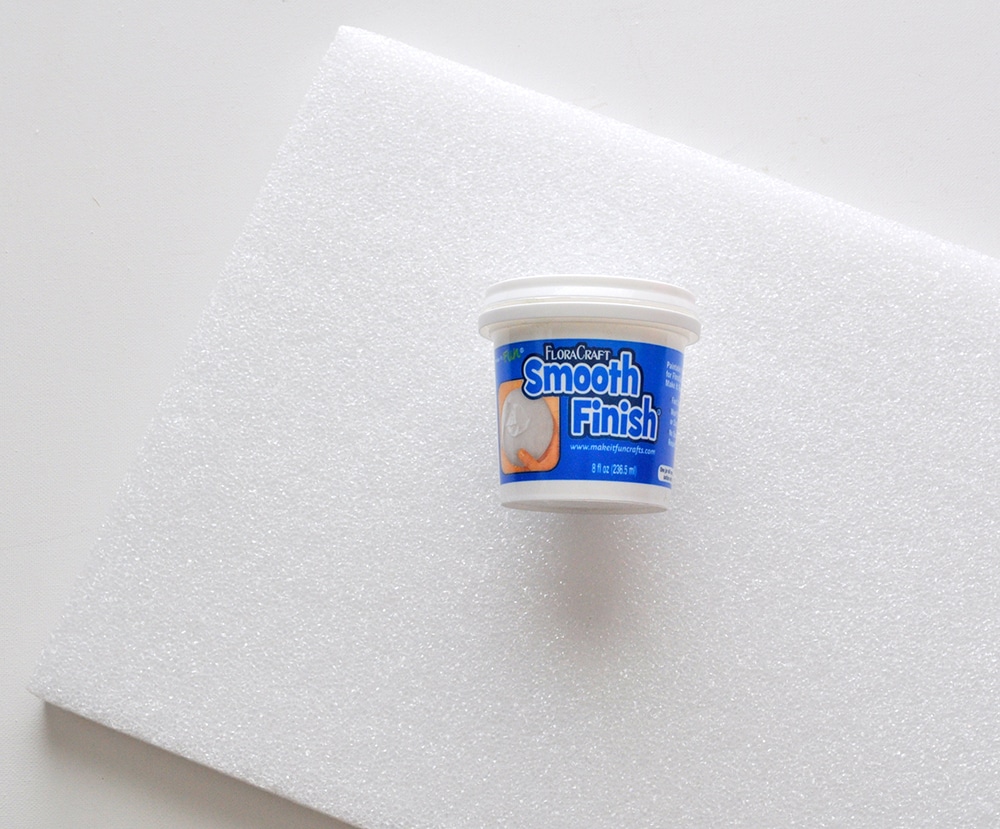
- Floracraft® Make It: Fun® Foam Sheet Size: 1 x 12 x36 or a wood pumpkin form
- Acrylic Paint: Dark Brown, Light Brown, Steel Blue, White, Light Teal
- Floracraft® StyroCutter® Plus, FloraCraft® Foam Tools or Serrated Knife
- Floracraft® Smooth Finish® 8 oz. Jar
- Low-Temp Glue Gun and Glue
- Fine Grit Sandpaper
- Putty Knife
Instructions:
Draw a pumpkin on one end of the sheet of foam. Leave out the stem of the pumpkin, leaving the top of the foam with a straight edge. Using a foam knife or cutter, cut out the bottom and sides of the pumpkin.
Lay a piece of leftover foam on the top of the flat side of the pumpkin and draw a stem.
Cut out the stem and top of the pumpkin with a knife. Glue the top of the pumpkin to the bottom of the pumpkin. Let it dry.
Cover the entire pumpkin including the sides with Smooth Finish Paintable Coating. Let it completely dry. Lightly sand the coating with fine-grit sandpaper. Remove the excess coating.
Start painting the pumpkin with the darkest color, in this case, dark blue. Wet a paintbrush by dipping it into the water and then into the acrylic paint. Wipe excess off with a paper towel to dilute the paint and make it thin like watercolor.
Paint the rounded ridges of your pumpkin first. Let the paint dry for a few minutes. paint over the blue with white paint diluted with water. Once you get your pumpkin to the correct color. Let the paint dry for an hour.
Paint the stem with non-diluted darker brown acrylic. Add diluted lighter brown over the dark stem.
Paint your stem ridges and pumpkin with non-diluted dark brown. Go over the pumpkin in the lightest areas with diluted teal and white paint. Let it dry.
Hot glue a small piece of jute twine to the back of the blue pumpkin door hanger, place on your door and that’s it! You got the latest trend without having to know how to paint with watercolor!
I hope you have enjoyed this tutorial for this painted pumpkin door hanger. It is a super easy way to bing fall to your door this season.
Love it? Pin it?


Decorating with pumpkins is one of my fall favorites. Today I’ll be sharing your pumpkin decor at Merry Monday.
This turned out so pretty, Kim! I like that you went with blue instead of plain white or orange!
This is so pretty and such a clever idea! I love the colors you selected!