Festive Farmhouse Embroidery Hoop Holiday Tree Collage


Today I am sharing another project in a series of posts where I’m updating my holiday decor to the new plaid & chalkboard trend that’s out there this year. I love embroidery hoop crafts, even though I’ve never tried needle crafting, I just love how those hoops look! Crazy right? They just make great frames!
I had a little help with this sweet holiday project from Cutting Edge Stencils! I used their Fancy Christmas Tree Stencils from their New Holiday Stencil Collection to make this super trendy embroidery hoop tree collage. I cut the stencils apart and used each one in three different sized wood hoops. Here’s how I made them~
Disclaimer: Please note that some of the links below are affiliate links and at no cost to you I will earn a commission if you purchase through those links. See my Disclosure + Privacy Policy for more info. As an Amazon Associate, I earn from qualifying purchases.
⚡️NOTICE: Submitting forms for FREEBIES on this site too quickly can trigger our email spam filters. If you stop receiving your Freebie Delivery Emails, please try using a different email address, an incognito window, or you can Contact us to whitelist your email so you can receive them.

Embroidery Hoop Holiday Tree Collage
Supplies:
- Cutting Edge Stencils- Fancy Christmas Tree Craft Stencils in Small & Medium
- Acrylic paint: Charcoal Gray, Tartan Red
- 1 yard of White Duck Cloth
- 1 Small Piece of shiny Gold Polyester Fabric
- Flat Round Stencil Paint Brush
- Blue Painters Tape
- Cardboard Square
- Embroidery Hoops: 2- 10 inch, 1- 8 inch, 1- 12 inch
- Mini White Ball Trim
- Small White Pom Pom Balls
- 1 small piece of Plaid Ribbon
- Elmer’s Spray Adhesive
- Sharp Fabric Scissors
- Hot Glue & Gun
- Rotary Cutter & Mat

Instructions:

The trees on this particular stencil are grouped together, so to separate them, cut the trees apart on the stencil with a rotary cutter.
TIP: If you are going to use this stencil in a different project, do not cut the stencil. Skip this step and reuse the stencil with different trees for each hoop.
Measure which trees fit best in your hoop leaving an inch on the top and bottom of the tree. Measure and cut your duck cloth for each hoop.

I cut mine into squares that were 2-3 inches larger than the hoop.
Take the square duck cloth and tape it to a piece of cardboard with painters tape. Spray the back of the stencil with Elmer’s Adhesive glue. Tape the stencil to the center of the duck cloth square. If the tree edge is thin where you cut the stencil add a strip of painters tape so you will not paint onto or bleed over to the cloth. Press the stencil to seal it onto the cloth.

Use a round flat stencil brush and get a small amount of paint on the tip of the brush. Tap off excess and lightly tap the paint in the to cloth. Go slow and fill in the stencil.

Remove the stencil immediately when finished painting so the paint will not bleed under the stencil. Let it dry.

I drew the star by hand on the duck cloth with a pencil. Next, make a cardboard guide of the star by drawing the star using the stencil on a small piece of cardboard. Cut it out and use it to cut out the star with scissors on gold shiny fabric. Repeat for each tree.
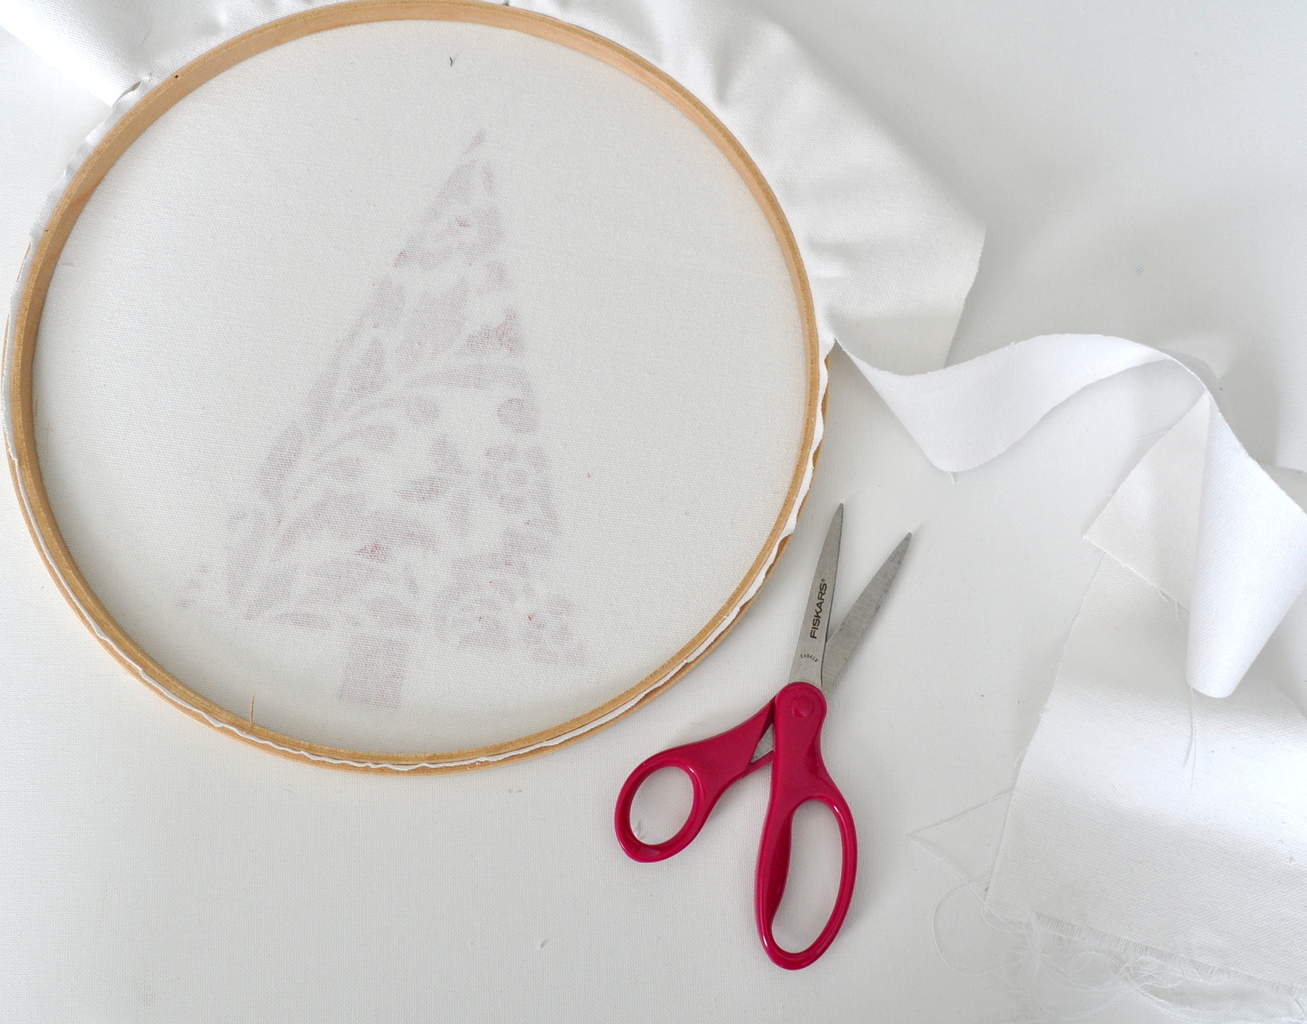
Center your duck cloth with painted tree over the embroidery hoop. Apply the top hoop and tighten the lock. Turn the hoop over and trim off excess fabric from the hoop with sharp scissors.

Add your embellishments with hot glue for fabric. Hot glue the star on top of each tree. And that’s it! Super easy and crazy cute! 
Love it? Pin it!


See more of my holiday projects here!


I would choose the CHRISTMAS ORNAMENTS CRAFT STENCIL!
I love the Christmas Tree Stencil. Those are so pretty! Thank you for the chance:)
I’d like to get the JOY Accent Pillow Kit.
I love the OTOMI CRAFT STENCIL! I would be able to use it for so many things!
I love the NADYA DAMASK STENCIL.
I love the tree stencil
Love the anchor stencils
I really like the dream stencil!
Love these ornaments. I would pick the reindeer pillow kit.
I like the Dream stencil
I like the ornament stencil
I like the MESH ALLOVER STENCIL. This would be fun to do with my son.
I’ve already picked out ours.
So, if I won I wouldn’t get any but would give this as a gift and let someone I know with a new house and a lot of blank walls have fun picking something out.
Those Christmas Tree stencil projects are gorgeous would love to have the tree stencil.
These are so fun! And stenciling is way more my speed than embroidering! I love the tip about removing the stencil immediately so the paint doesn’t bleed, I didn’t know that. Love cutting edge stencils!
I love the Christmas tree stencil and the projects shown, but I also love the Christmas ornaments stencil – the project done all in white is beautiful!
This is such a cute DIY decor idea- I’m not super crafty but I think I could manage these!
I like the tree stencil.
I like the mittens stencil
Adorable! They turned out great and look awesome with your faux deer head :) Pinning to share. Thank you for sharing your projects with us at Brag About It!
~Laurie
Thank you!!! Thanks for pinning!
Kim
Hi Kim,
These are beautiful. They bring a fresh brightness the to wall. What a great Christmas idea. Thanks for sharing on Tips & Tricks.
I really like the Christmas tree stencils.
I love the be silly quote stencil!
I like the Christmas Ornaments Craft Stencil.