How to Mount a Tapestry for Wall Art
Want to create some amazing oversized wall art? How to mount a tapestry for wall art using foam! The best way to fill large space is to mount a tapestry on a wall. For more wall art ideas and see my Wall Art page.
Disclaimer: Please note that some of the links below are affiliate links and at no cost to you I will earn a commission if you purchase through those links. See my Disclosure + Privacy Policy for more info. As an Amazon Associate, I earn from qualifying purchases.
Large cloth printed tapestries are super popular right now. They are a fairly inexpensive way to change the mood of a room by covering a whole wall in minutes with push pins!
Today I am going to show you an easy way to turn a tapestry into a piece of large wall art using foam sheets!
My home has an open floor plan with a vaulted ceiling in the living room. It’s tough to fill that large gap and have the wall not look empty.
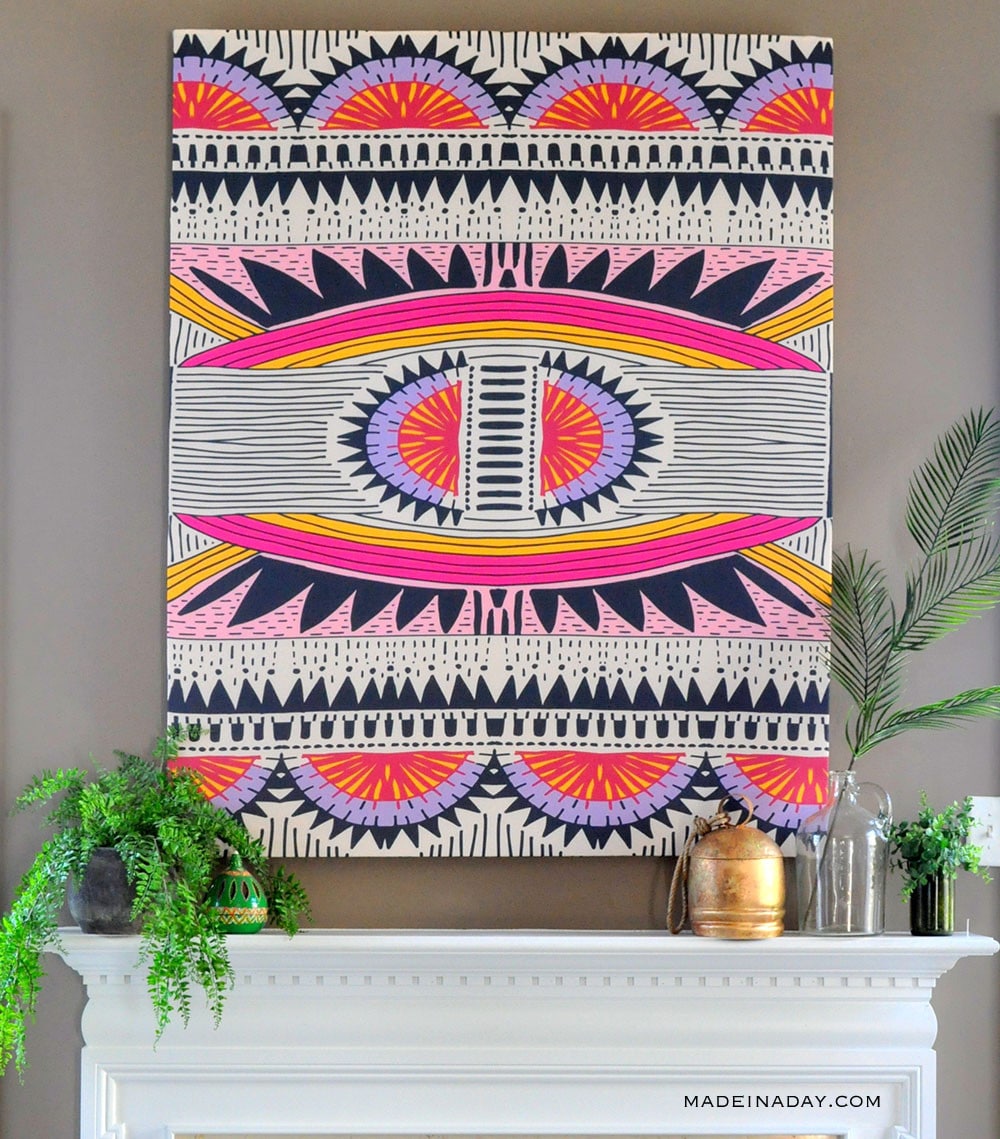
To fix that problem I purchased a tall tapestry to go over the mantle on my fireplace.
I did not want to just hang the fabric and have it droop in the center. I wanted it to have structure and a base and look like a canvas picture. Here’s what I did!
How to Mount a Tapestry for Wall Art
Supplies:
- FloraCraft® Make It: Fun® Foam Sheets: (8) Size: 12 x 36 x 1 inch
- Tapestry: Size: 50 x 60
- Low-temp Glue Gun & Glue
- Floracraft® Foam Cutter or a sharp knife
- Twine Cording
Instructions:
How to Make a Tapestry Base
Remove tapestry from package and iron the fabric to remove wrinkles.
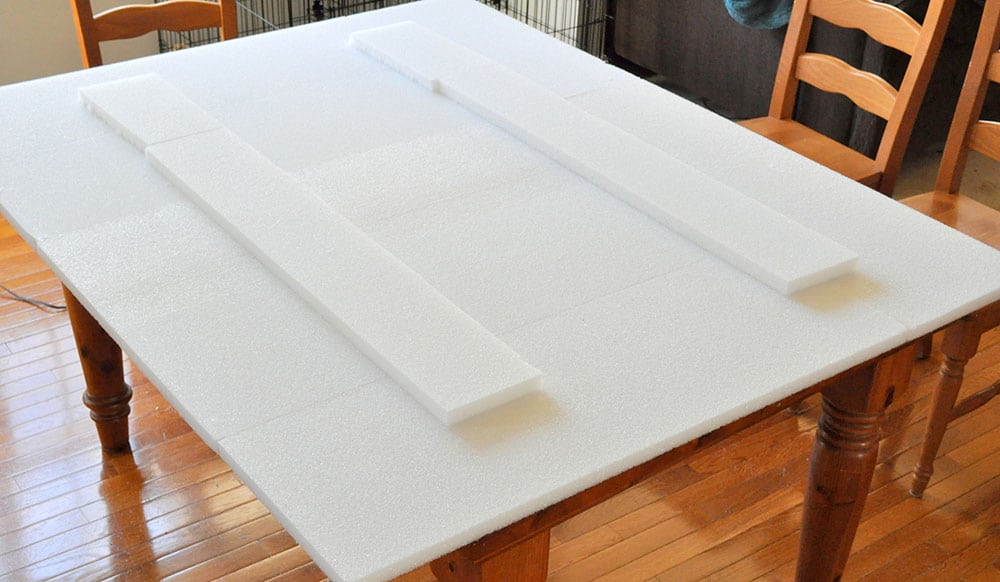
On a large worktable, lay six foam sheets out long ways next to each other in rows.
Lay the other two sheets on one side of the other six sheets to make the width wide enough for the tapestry.
Trim the last piece of foam to make the 50 x 60 dimensions. See Tapestry Foam Layout image below.
Using a low-temp glue gun. Put a thin line of glue on the edges of a foam sheet and glue each piece together like the Tapestry Foam layout above.
Glue the brace strips to the back of the foam sheets to strengthen them and help hold them together tightly. Dust off any loose foam on the front of the foam where the tapestry will be.
Lay the tapestry over the foam. Make sure the pattern is even on both sides. Start gluing the tapestry to the top end of the foam sheets.
Work slowly pulling the fabric smooth as you adhere it to the foam. Next glue the bottom edge, then each side. Glue the corners last in case you need to smooth any wrinkles from the fabric.
NOTE: If you find you have wrinkles in the tapestry, just pull the fabric loose from the side, smooth, and re-glue.
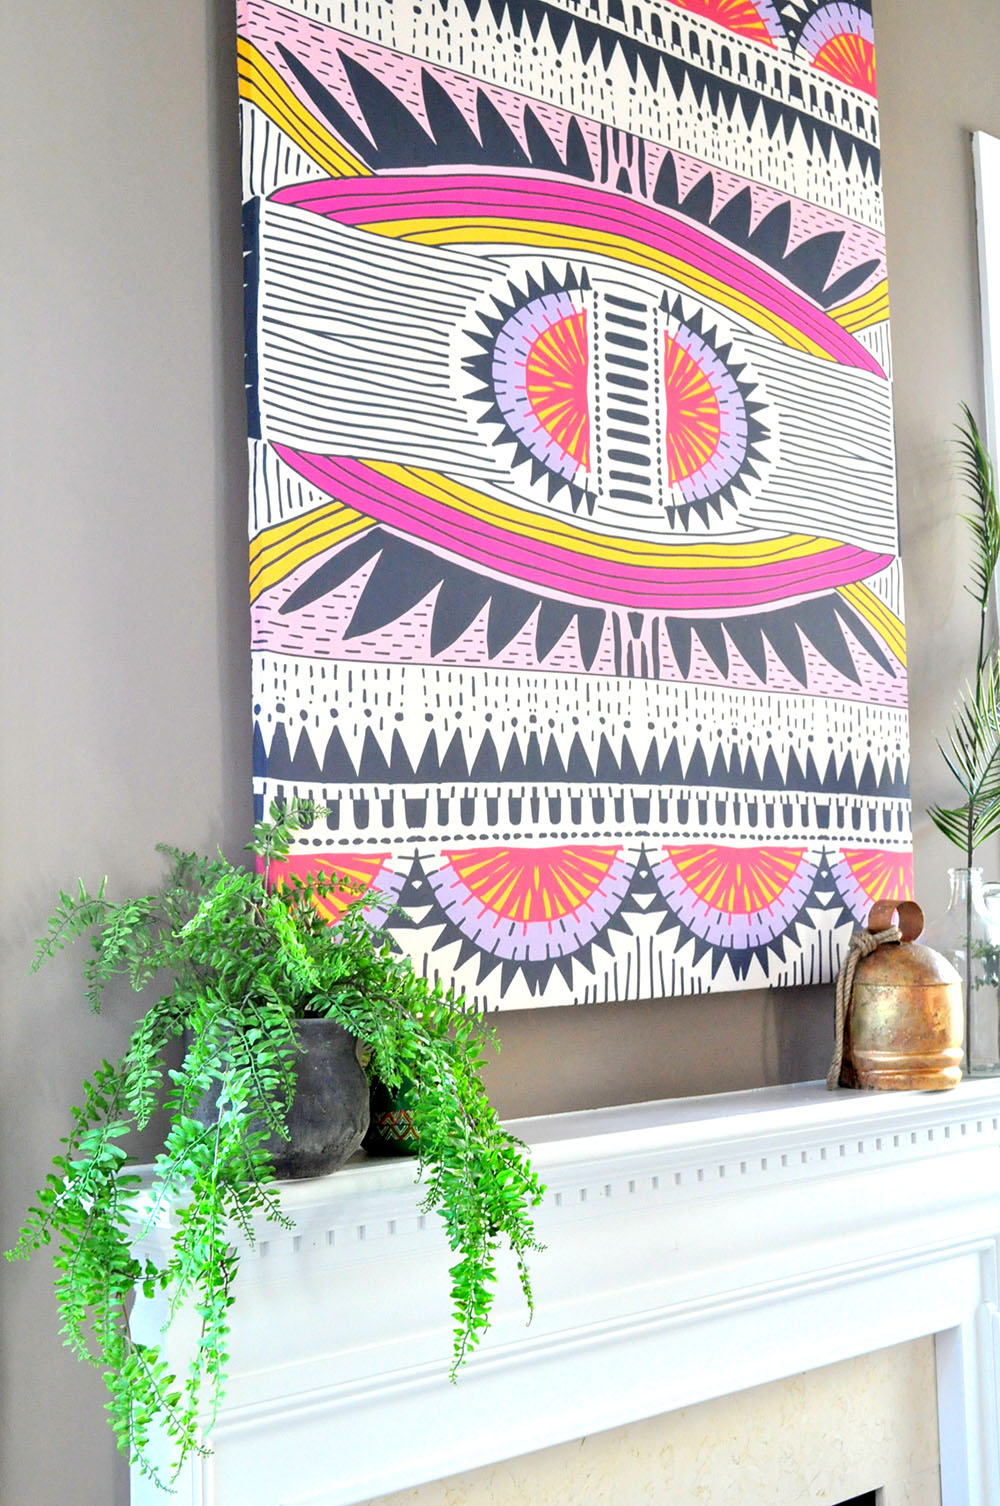
Brush off any loose foam on the tapestry. Glue a few 6-inch pieces of twine to the center of the top of the back of the tapestry to hang. Do not hang until the glue has cooled and is completely dry. Hang the tapestry!
I hope you have been inspired by this How to mount a tapestry on a wall post. This is a super easy way to fill a large space with a pop of color and have it look like an expensive piece of wall art.
Don’t feel like making this but love the look of large wall wrt? Shop these ideas!
Love it? Pin it!


This is a great idea. I like that it’s lightweight, which makes it easy to move around and hang if needed.
Interesting approach, I peruse thrift stores and usually an ugly large print on board can be bought for less than $5 so I use those for mounting other things. But, this is a great reuse of materials that would end up in a landfill. Thanks for sharing, Sandi
I’m so glad to have this tutorial for mounting a tapestry without building a wooden frame and using a staple gun. This methods looks like it would be easier and quicker. Thanks! I’m pinning for future reference.
Thanks Carol, I actually had the wood to make a simple frame for it. The frame made it super heavy. So I left it off. Plus buying the square wood pieces for the frame were pretty pricey. I might as well of had it professionally done for the cost of the tapestry wood and foam. The foam is holding up perfectly.
Kim
I’m in love with that tapestry!! It’s gorgeous! Pinned & sharing
Thanks for sharing this. I am never passing up a tapestry or fabric I love again!