Spooky Pumpkin Scarecrow Halloween Prop
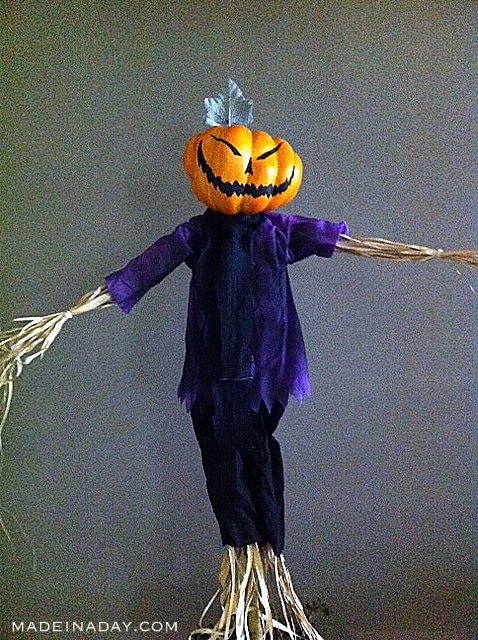
Scare the neighbors this Halloween with this madeover Pumpkin Scarecrow! Change a happy craft store scarecrow into a creepy pumpkin scarecrow with this easy DIY! For more creepy props see my Halloween page

Disclaimer: Please note that some of the links below are affiliate links and at no cost to you I will earn a commission if you purchase through those links. See my Disclosure + Privacy Policy for more info. As an Amazon Associate, I earn from qualifying purchases.
FYI: Sorry about the grainy pics. This was one of my very first blog posts! It’s an oldie but a goodie!
YAY! It’s October!!! Woo! Hoo! The most wonderful time of the year! Time to get my house haunt on! This scarecrow prop project was an easy one and it came out so great!
Aren’t you so tired of the same old decorations year after year in the stores, and the ones in the Halloween pop-up stores are so expensive that they hardly seem worth it? I love to I try to recreate those expensive props by using different techniques. See my other prop posts below!
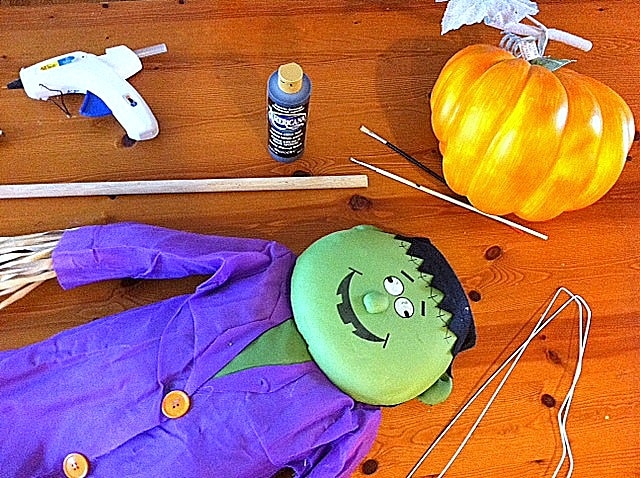
This is one of those cute scarecrows from Michaels, they have out in the front every year. I decided he would look much better with a face-lift! He came out awesome!
Spooky Pumpkin Scarecrow Prop
Supplies:
- Scarecrow yard stake
- Faux pumpkin
- 5/8 x 36 wood dowel See below on what size to buy for your scarecrow.
- 2 wire hangers
- Zip ties
- Black spray paint
- Hot glue and gun
I used a scarecrow with a bamboo pole base, The bamboo is hollow. When purchasing a dowel, be sure to get one large enough in diameter to fit “snug” inside the bamboo pole on the top neck end of the scarecrow. Use the diameter of the pole as a guide.

This Halloween scarecrow was the Frankenstein version. I chose him because I liked his outfit. It was perfect for the new pumpkin head character.
Instructions:

Paint a creepy face on your pumpkin with acrylic black paint and let it dry.
Carefully pull the scarecrows’ head off. These props are usually hot glued to the fabric and sort of messy to remove. Just tear and break the glue to remove the head.
Measure and mark how far inside the pumpkin the dowel needs to be for the pumpkin head height and also to fit snugly inside the bamboo pole.
To cut your dowel, place it into a vice and use a hacksaw to cut it down to the correct size.
My pumpkin was small on the back side of it, so I cut my dowel to 5 inches. Yours maybe larger or smaller depending on the pumpkin you use.

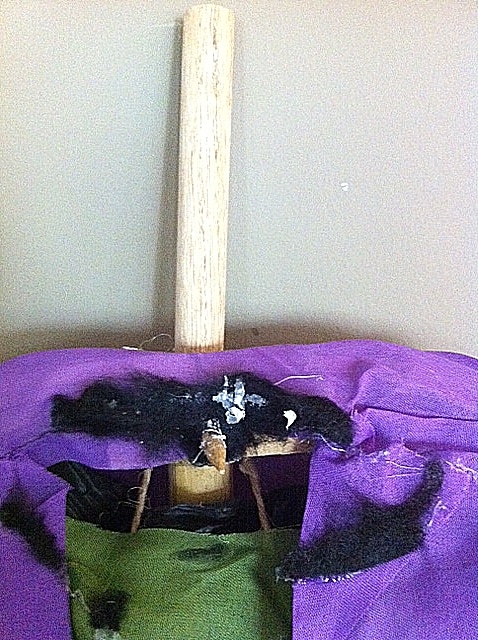
Turn your scarecrow over, cut a small hole in the back of the jacket and push the bamboo pole end through the fabric.
Fill the bamboo hole with hot glue and place the dowel inside the pole and hold it until it is secure. Add some glue to the outside section where they meet to for extra security.

Take the wire coat hangers and pull them from the bottom center of the hanger into a diamond shape. Stretch it out flat making the hook on one end and a point at the other.
Insert the end of the hanger with the hook inside the sleeve of the scarecrow and bend the hook tightly around the bamboo pole inside his jacket. Leaving the pointed other end as an arm. Repeat on the other side.

Grab the straw hanging out of the scarecrows arm and gather it up around the wire hanger to hide it. Secure the straw and hanger with a zip tie. This will make the scarecrows arms stretch out wide when displayed instead of hanging down.
Coat the jacket lightly with black spray paint.
Hold the pumpkin up to the dowel and estimate how you want his head to hang and then mark the bottom of the pumpkin with a pen where the dowel will be inserted.
Drill a hole in the bottom of the pumpkin large enough for the dowel to fit through. Add some hot glue to the hole in the pumpkin. Place the pumpkin head on the dowel, add more hot glue it at the base so it won’t move around. Let it dry.
Take the black fabric and cut it in a strip around 5 inches wide and 6 feet long (or longer if you want it) to make a scarf.
Tie it around the neck of the scarecrow. This will hide the old hardware on the top of the jacket. Hot glue the scarf fabric in place to cover and secure it.
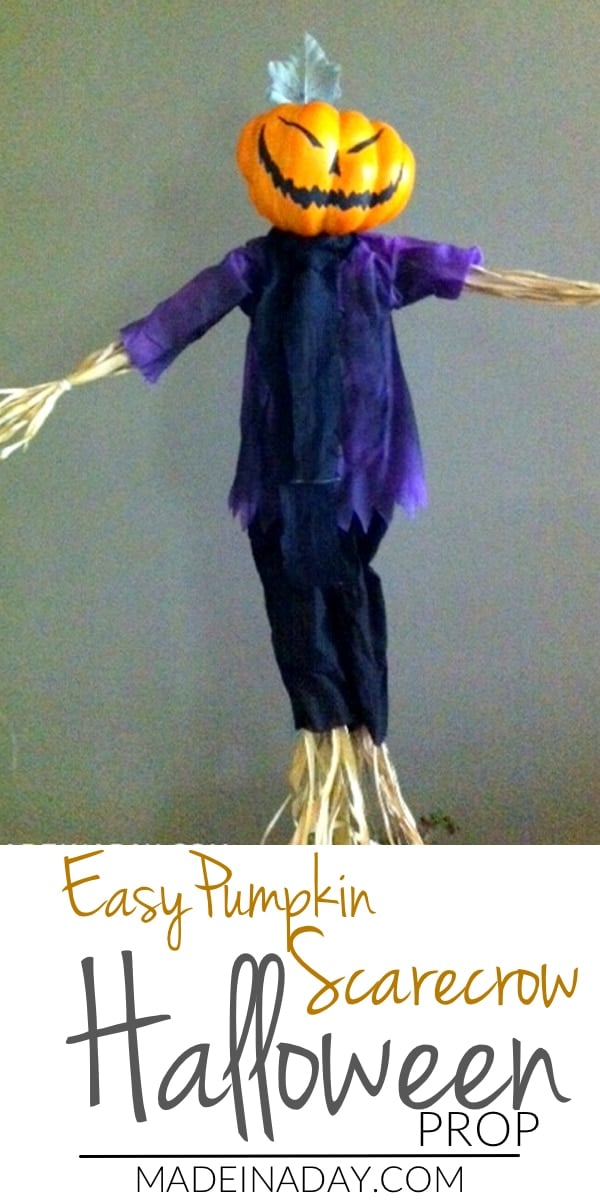
And ta-da! He’s got a new look!
I apologize for not having more pics if this tutorial. I was new at blogging back when I made this scarecrow and did not take enough pics of all of the steps.
He lasted for 8 years or so for Halloween! I only had to touch up his face once. Sadly when I moved I had to let him go.

This came out too cute and very scary! He sits right out in front and center of my front yard at Halloween each year!
Featured On:

Love it? Pin it!


Happy Halloween! I just wanted to let you know that I featured your Spooky Pumpkin Scarecrow on my blog tonight! Thanks so much for sharing :)
Love this!!
Congrats, Kim! Your post is being featured in our Feature Friday top crafty bloggers post today!! We appreciate you sharing your projects with us!
We will give you a Facebook, Twitter and Pinterest shout out today! Have a great weekend and we can’t wait to see what you share with us in the new Saturday Showcase!
Hi there~ Super cute!! Thanks for sharing at Feathered Nest Friday! I’m having a giveaway this week- hope to see you at the party! :)
Thanks for the invite for the party! I will be there!
THIS IS SOO CUTE. WE WERE PLANNING ON MAKING A SCARECROW FOR OUR YARD THIS YEAR TOO AND NEVER GOT AROUND TO IT. I GUESS THERE IS STILL TIME AND NOW WITH YOUR GREAT IDEAS, THERE IS NOTHING STOPPING ME! LOL!