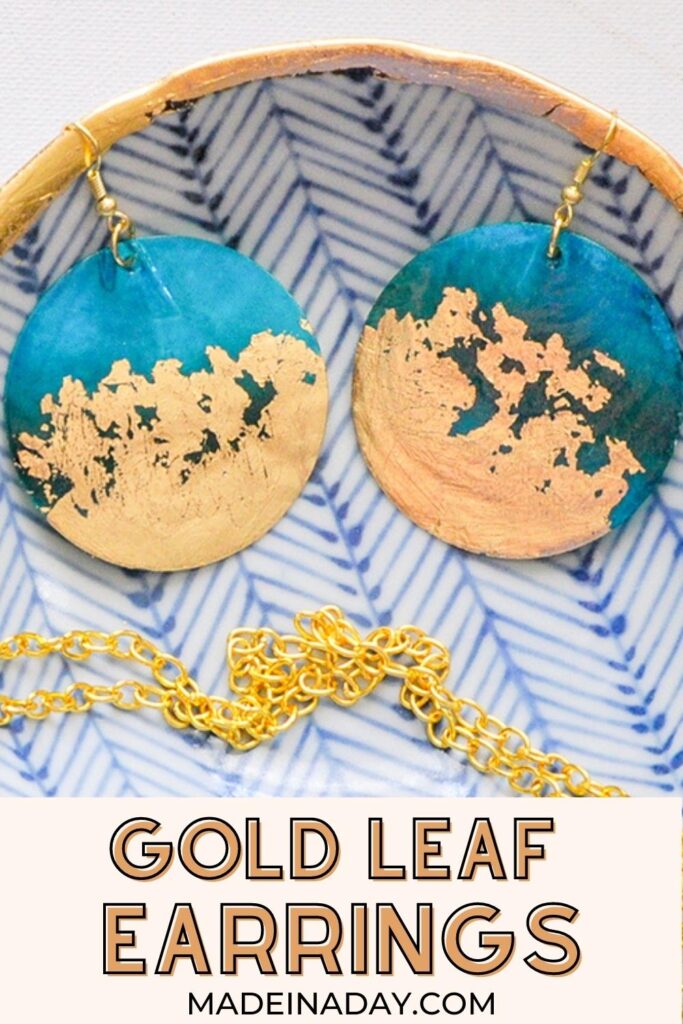
DIY Gold Gilded Earrings and Jewelry Bowl

Make a cheap pair of earrings look like a million bucks by adding gold gilding for that prefect glam update. See the tutorial for DIY gold gilded earrings and give your old jewelry new life. For more posts like this see my Jewelry page.

This post was part of a Thrift Store Upcycle Challenge where some of us bloggers got together and searched our local thrift store to find items to makeover in the latest decor trends.
Disclaimer: Please note that some of the links below are affiliate links and at no cost to you I will earn a commission if you purchase through those links. See my Disclosure + Privacy Policy for more info. As an Amazon Associate, I earn from qualifying purchases.
⚡️NOTICE: Submitting forms for FREEBIES on this site too quickly can trigger our email spam filters. If you stop receiving your Freebie Delivery Emails, please try using a different email address, an incognito window, or you can Contact us to whitelist your email so you can receive them.
For my project, I am glamming up some $.99 earrings and a small bowl by adding gold gilding to them. I love how these turned out. The bright gold makes everything look so fancy. You can’t get that perfect shiny metallic look from acrylic paint.
There is gilding in liquid form available and I have some, but I haven’t used it yet. The paint version can be a bit toxic with strong fumes and it’s too hot to open a window around here right now, so I opted to try the gold sheets and gilding adhesive instead first.
Wow, they turned out spectacular!
More Gold Leaf ideas you will Love


DIY Gold Gilded Earrings
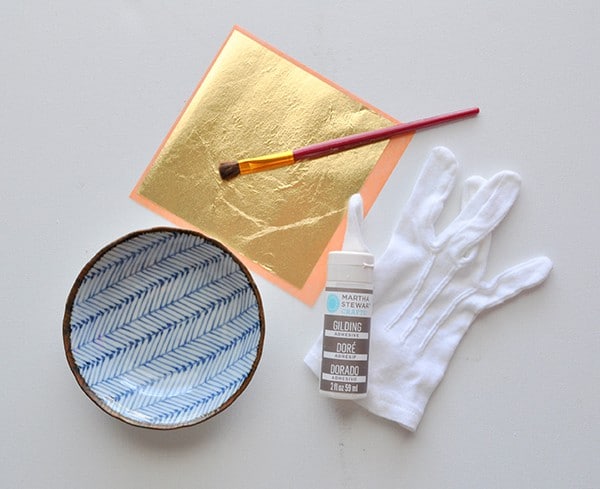
Supplies:
- A pair of earrings, mine were $1 shell disc earrings
- 2 jump rings
- 2 earring hooks
- Small bowl
- Gilding adhesive
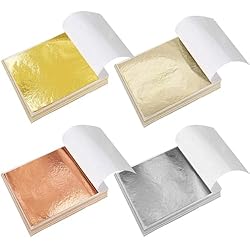
- Gold gilding sheets
- Soft natural bristle brush
- Small paint brush
- Cotton gilding gloves
- Spray or liquid sealer
Instructions:
Clean and remove any oil or dust from the surfaces you are going to add the gold to.

Paint a thin layer of gilding adhesive using the small paint brush onto the area where you want to add gold accents. Let the adhesive dry for around 15 minutes.
TIP: Wearing cotton gloves enables you to handle the gold sheets so they will not stick to your hands and come apart.
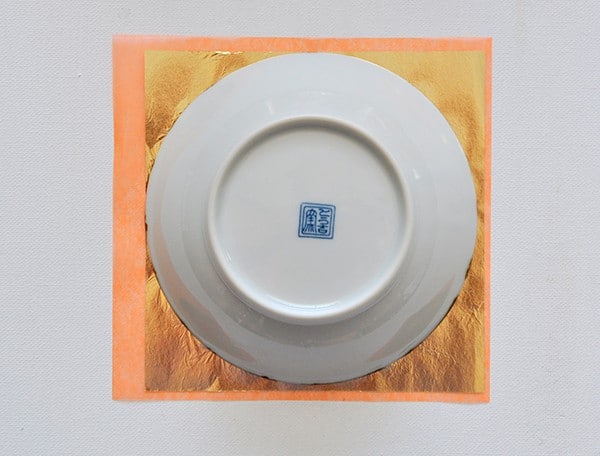
Lay the sheet of gold over the area you applied the adhesive. In this case, it was easier to lay the bowl on the gold sheet.

Gently press the sheet down over the adhesive painted areas. If you miss a spot just add more adhesive and press a scrap of the gold sheet over it to fill it in. Let it dry for 1-2 hours.

Using the soft bristle brush gently sweep away the extra leftover gold from the area, then seal with your favorite sealant. I had some spray shellac on hand, so I used it. I think liquid sealant painted on would be a better choice and less sticky. Let the sealant dry per manufacturers instructions and that’s it!
TIP: Paint only the outside of items used with food and hand wash only.


I added new gold jewelry findings to my earrings to snaz them up even more. Their transformation is so cool! They are my new fav earrings for summer!
I hope you enjoyed my DIY gold gilded earrings tutorial. What are you going to glam up?
AMAZON FAVS


Love it? Pin it!

I’m so glad I found your site. I was looking for how to keep flowers fresh and my oh my I stumbled across a gold mine. Cant wait to try your diy jewelry projects ( and more)!!
Thanks for the sweet words Jenn! I’m glad you found me too!
Kim
Love it!! I have never tried gold gilding and you make it seem so easy!
Thanks Pili, Next time I am going to use the liquid version. It might be easier than having to wait so long for things to dry.
Kim
You made it look so easy to add gold gilding. I think I may have to try it and I have just the thing. The earrings are so pretty also. Great project.
I love those earrings, and the gold edge to the bowl adds the perfect amount of glam!
Thanks Megan. I love them too!
Kim
You are so talented! I’ve always been intrigued by the gold gilding. Your earrings are so pretty but I’m in love with the bowl!
I’ve wanted to use gold gliding for so long but I figured it would turn in to a total Pinterest fail. I’m totally going to try it now! This tutorial is sooooo great! And of course yours turned out AWESOME!
This is something I’ve been wanting to try! You made it look pretty easy too. Love that little dish and the gold really makes the geometric patter pop!
I’ve been wanting to try this technique & this is awesome. I am going to make my daughter one to take to College with her! Will be perfect to keep her earrings in and doesn’t take up much space!